Glowing Slime
Materials


Instructions
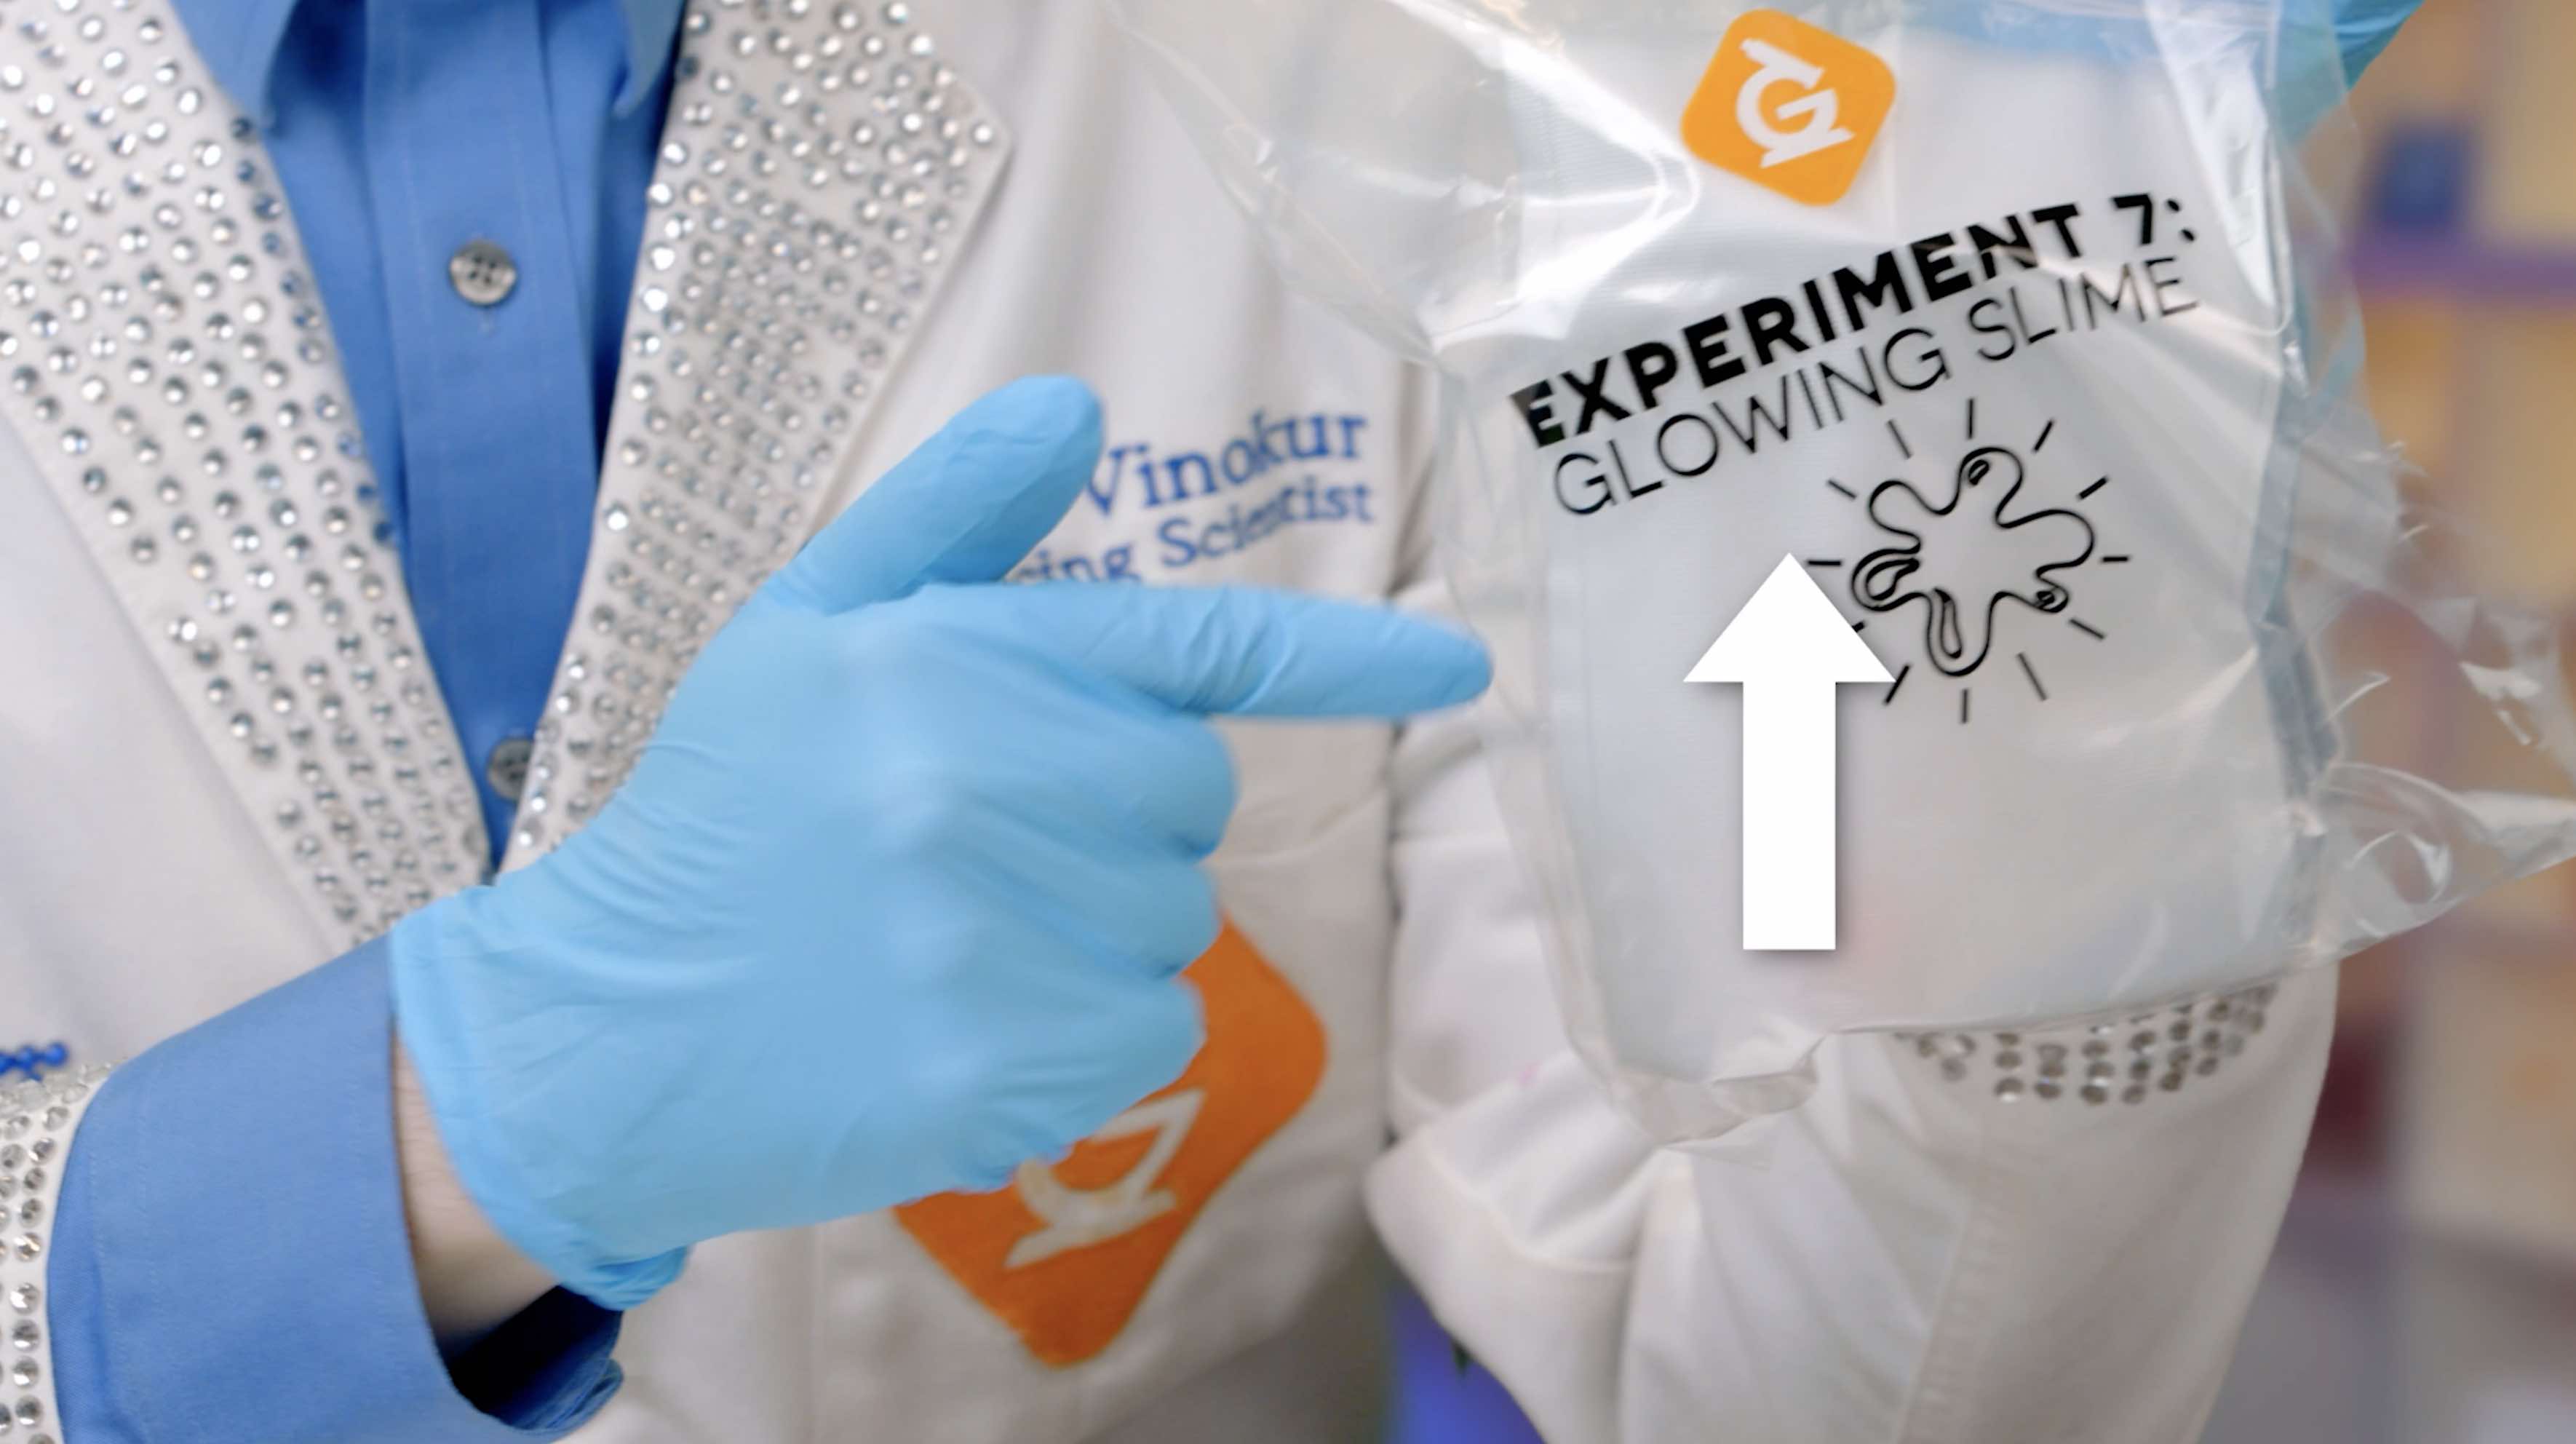
Reach into your kit & pull out the bag that says Experiment 7. Place everything around the white mat and put the bag back in your box.
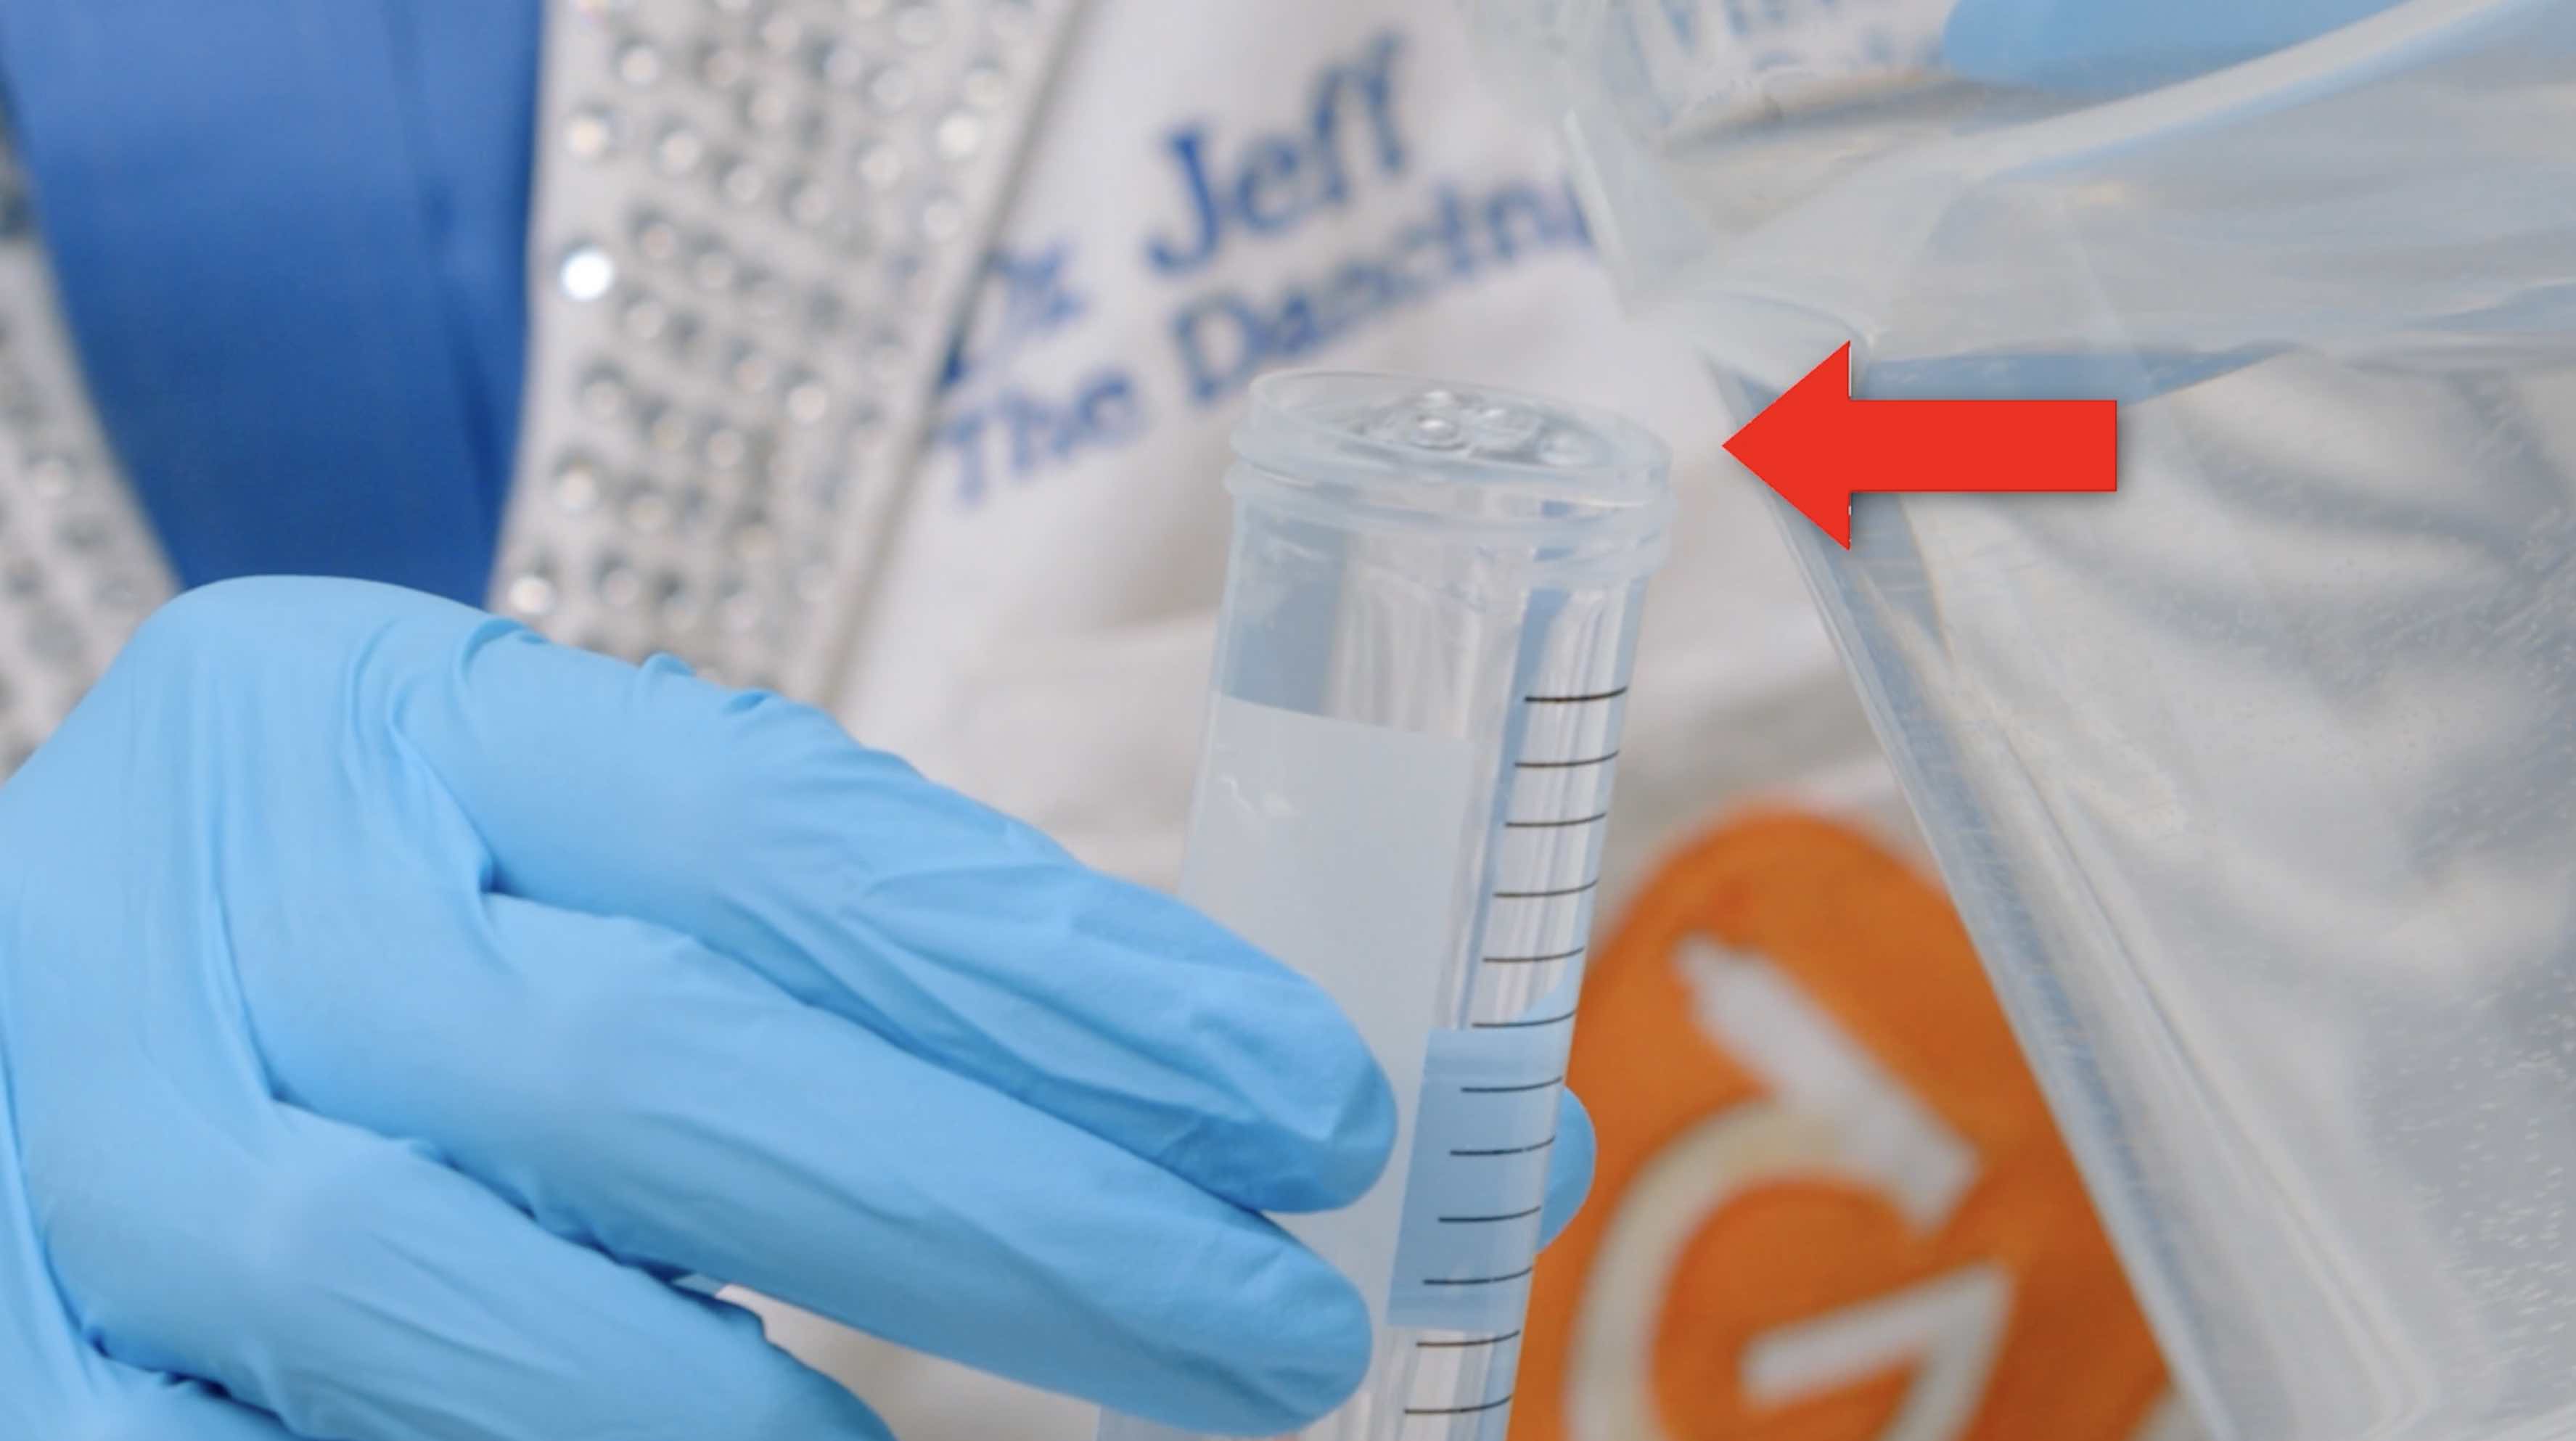
Fill the large measuring tube all the way to the top with warm water and pour it into the plastic cup. Repeat this step to add a second tube of water.

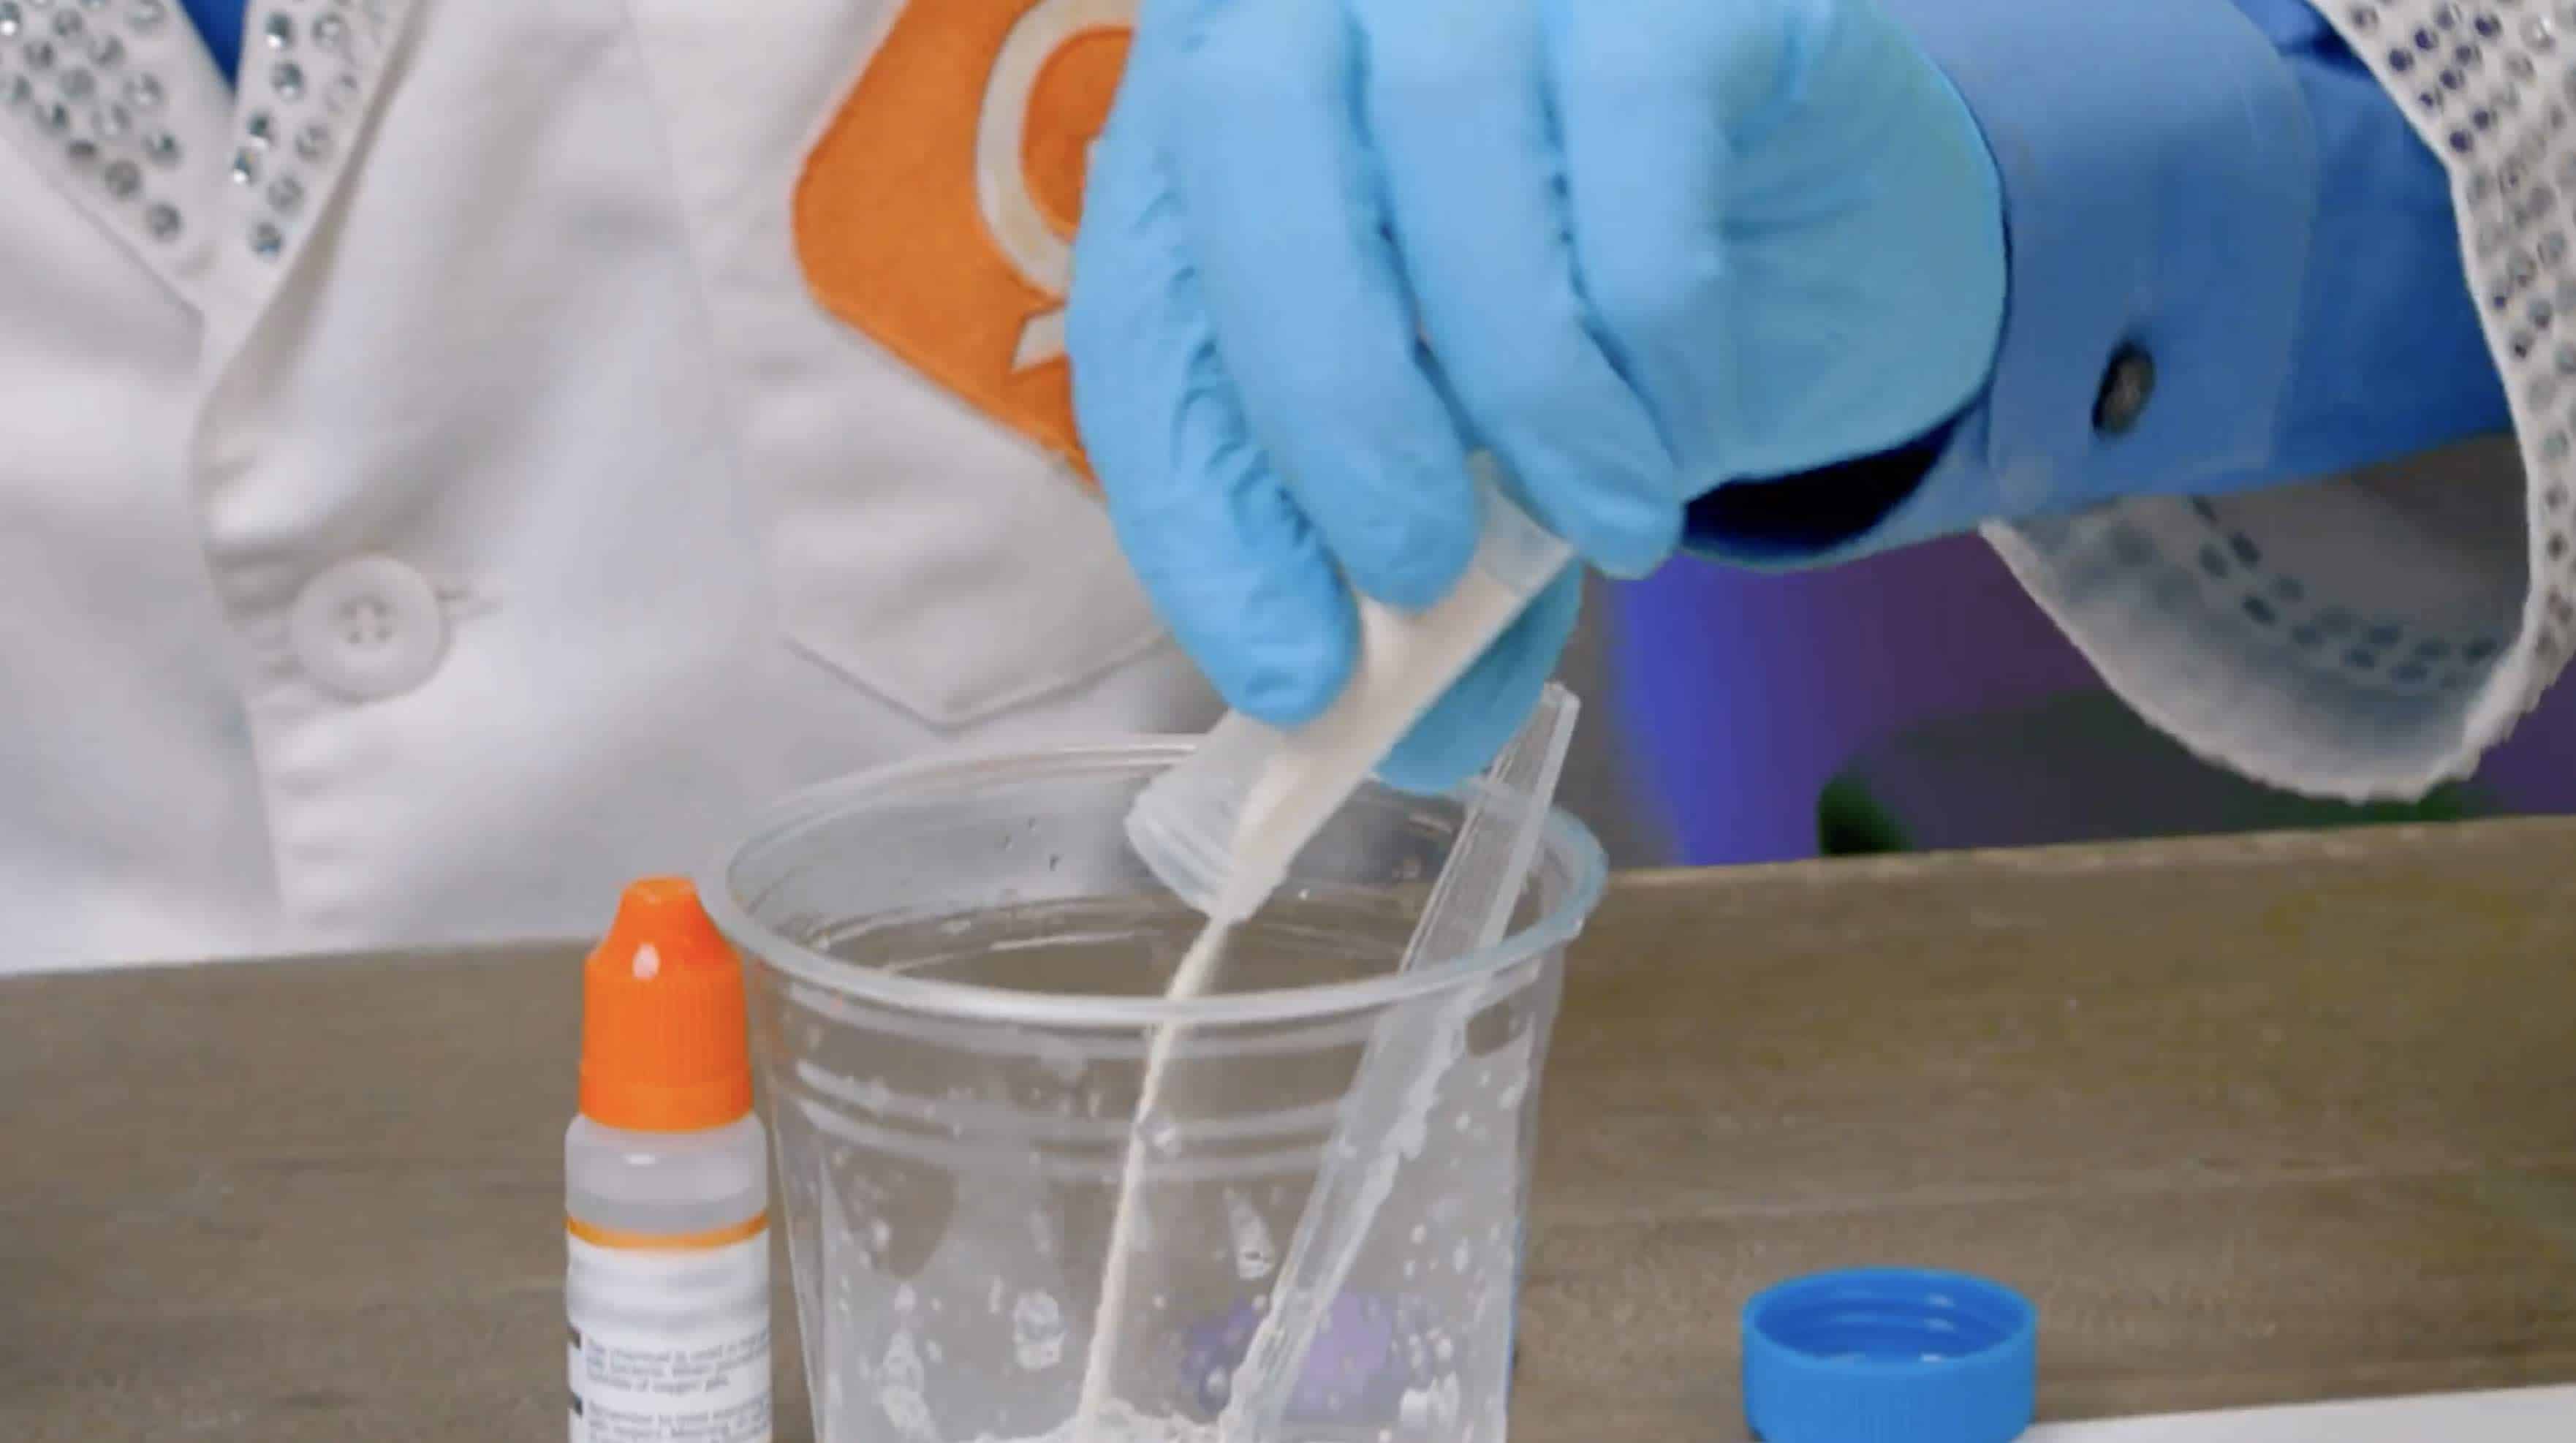
Place one of the dissolvable bags into the water. Push it down to make sure it’s all the way under the water.
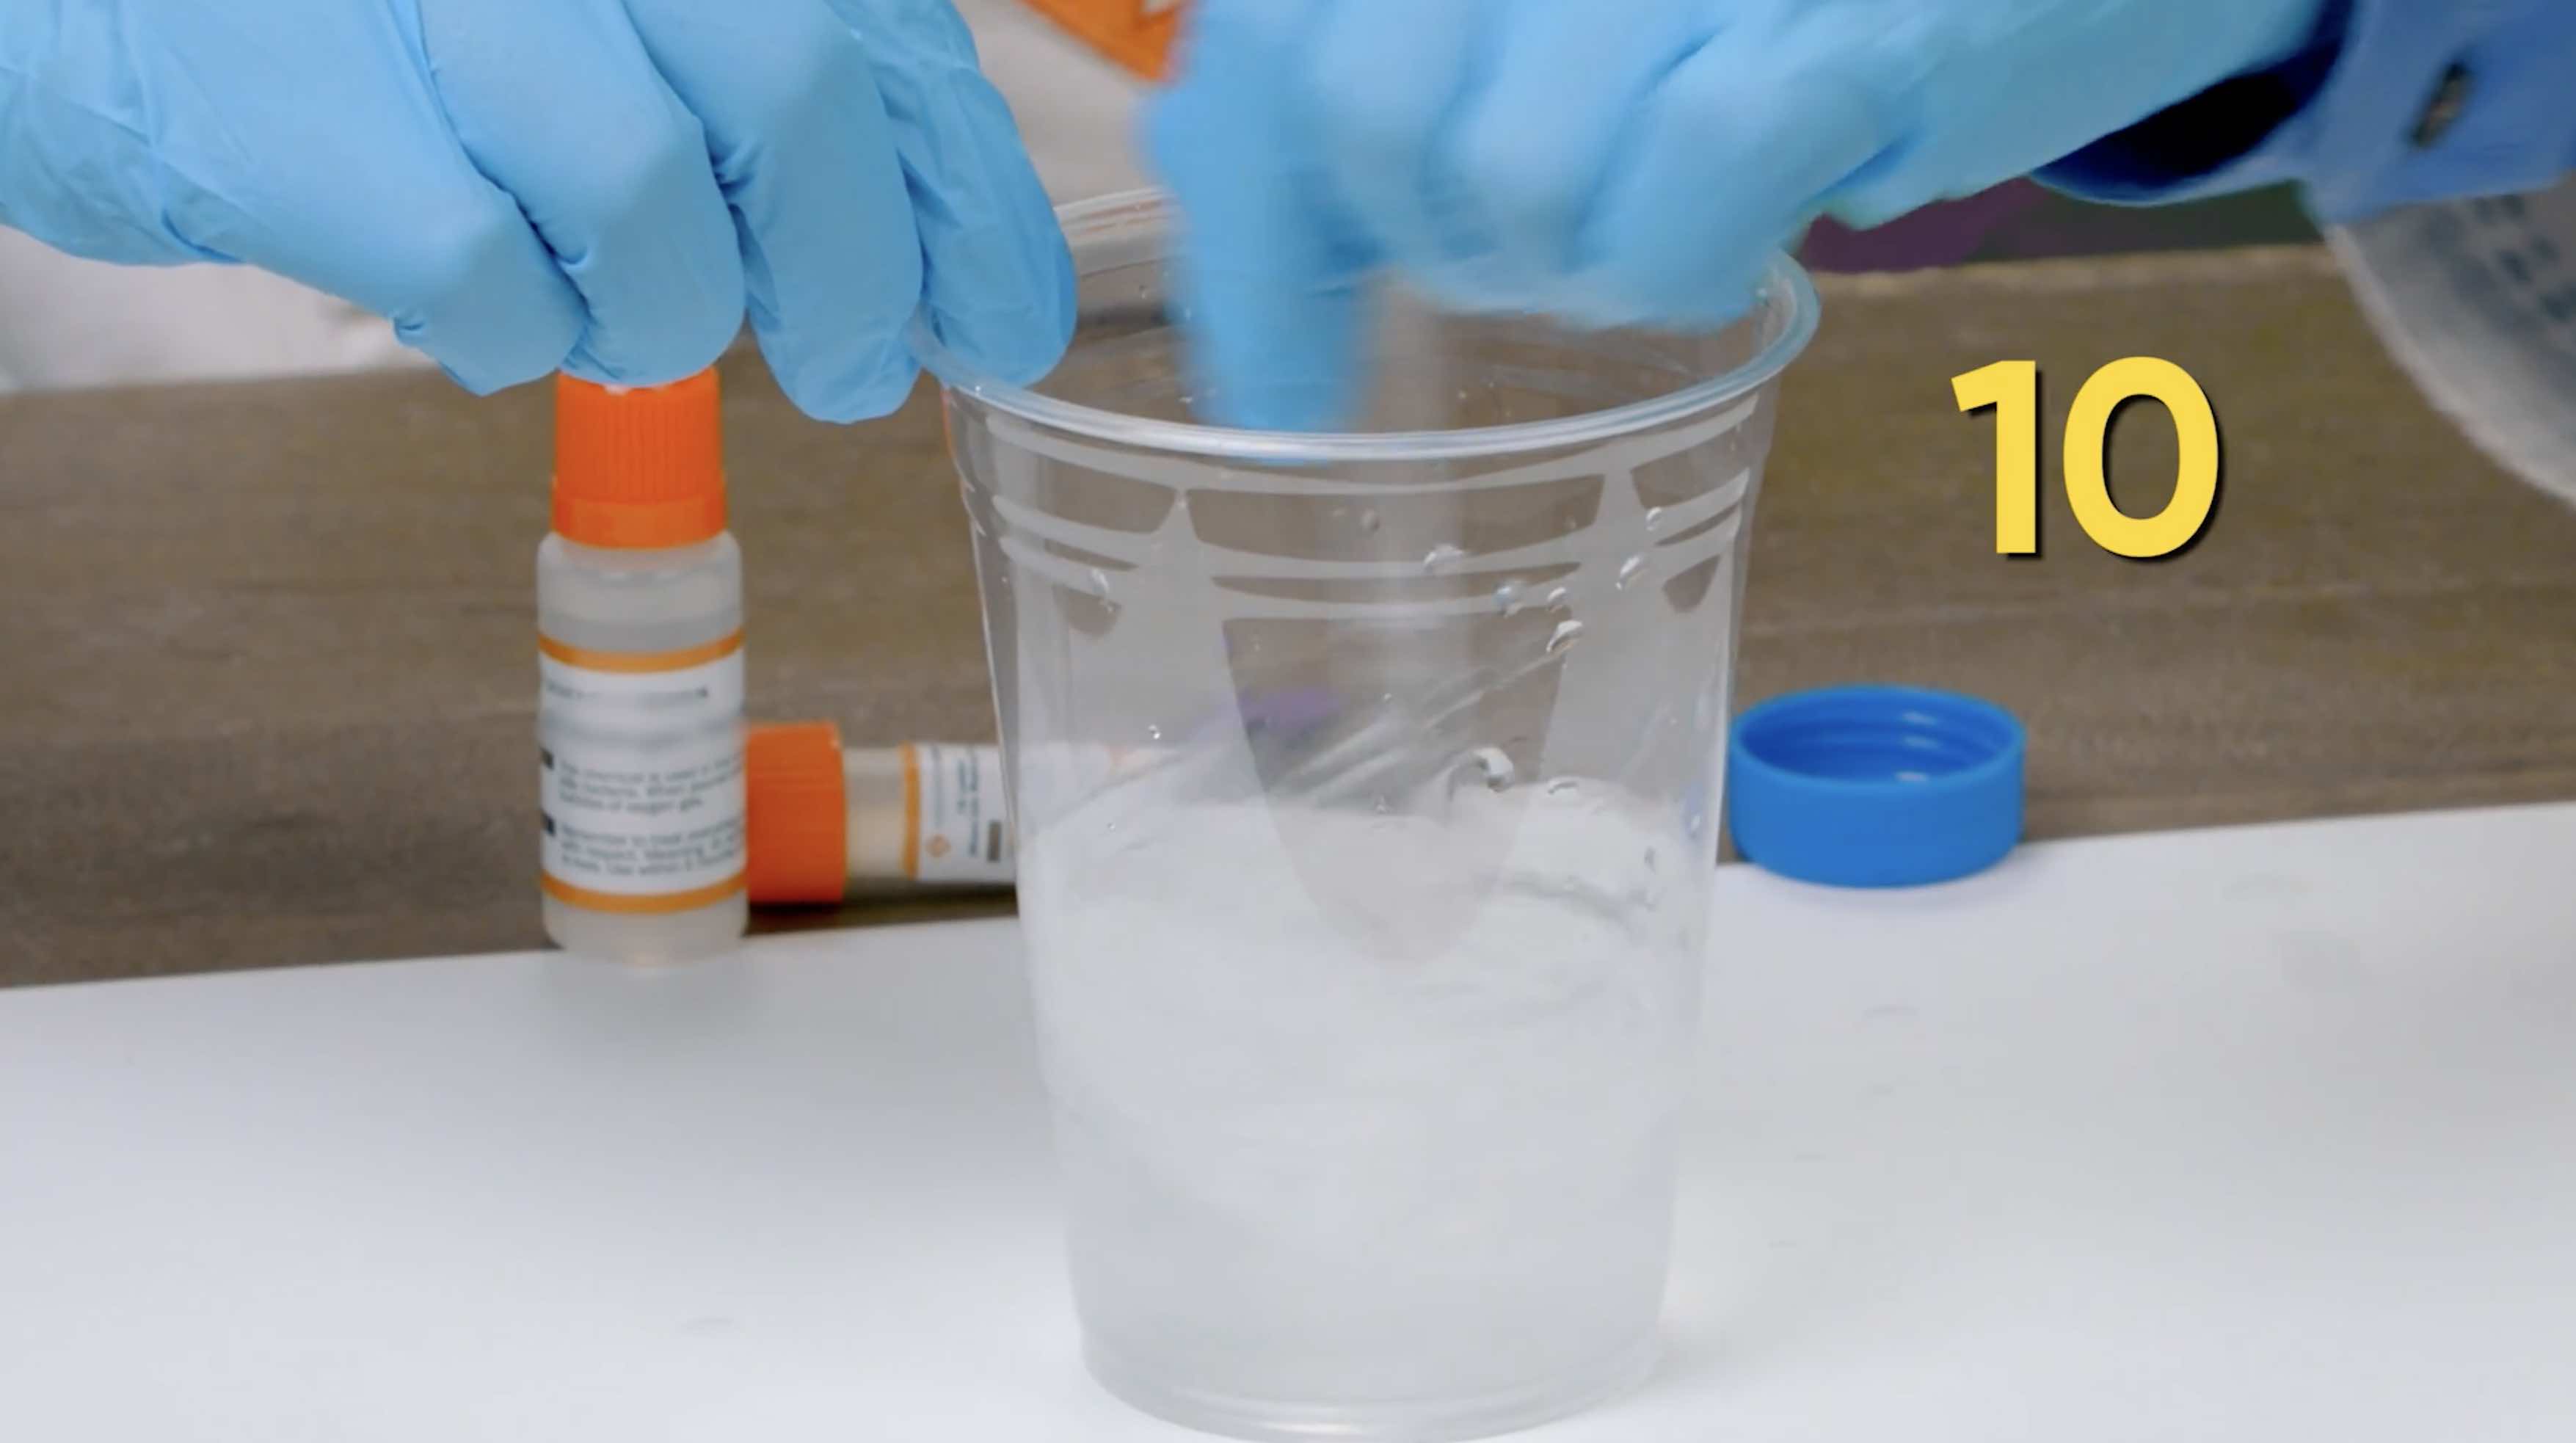
Use the spoon to swirl the water and bag around making big circles around the edges for about 10 seconds.

Repeat the same steps as before and add in three more dissolvable bags. Remember to add one bag at a time and don’t lose count.
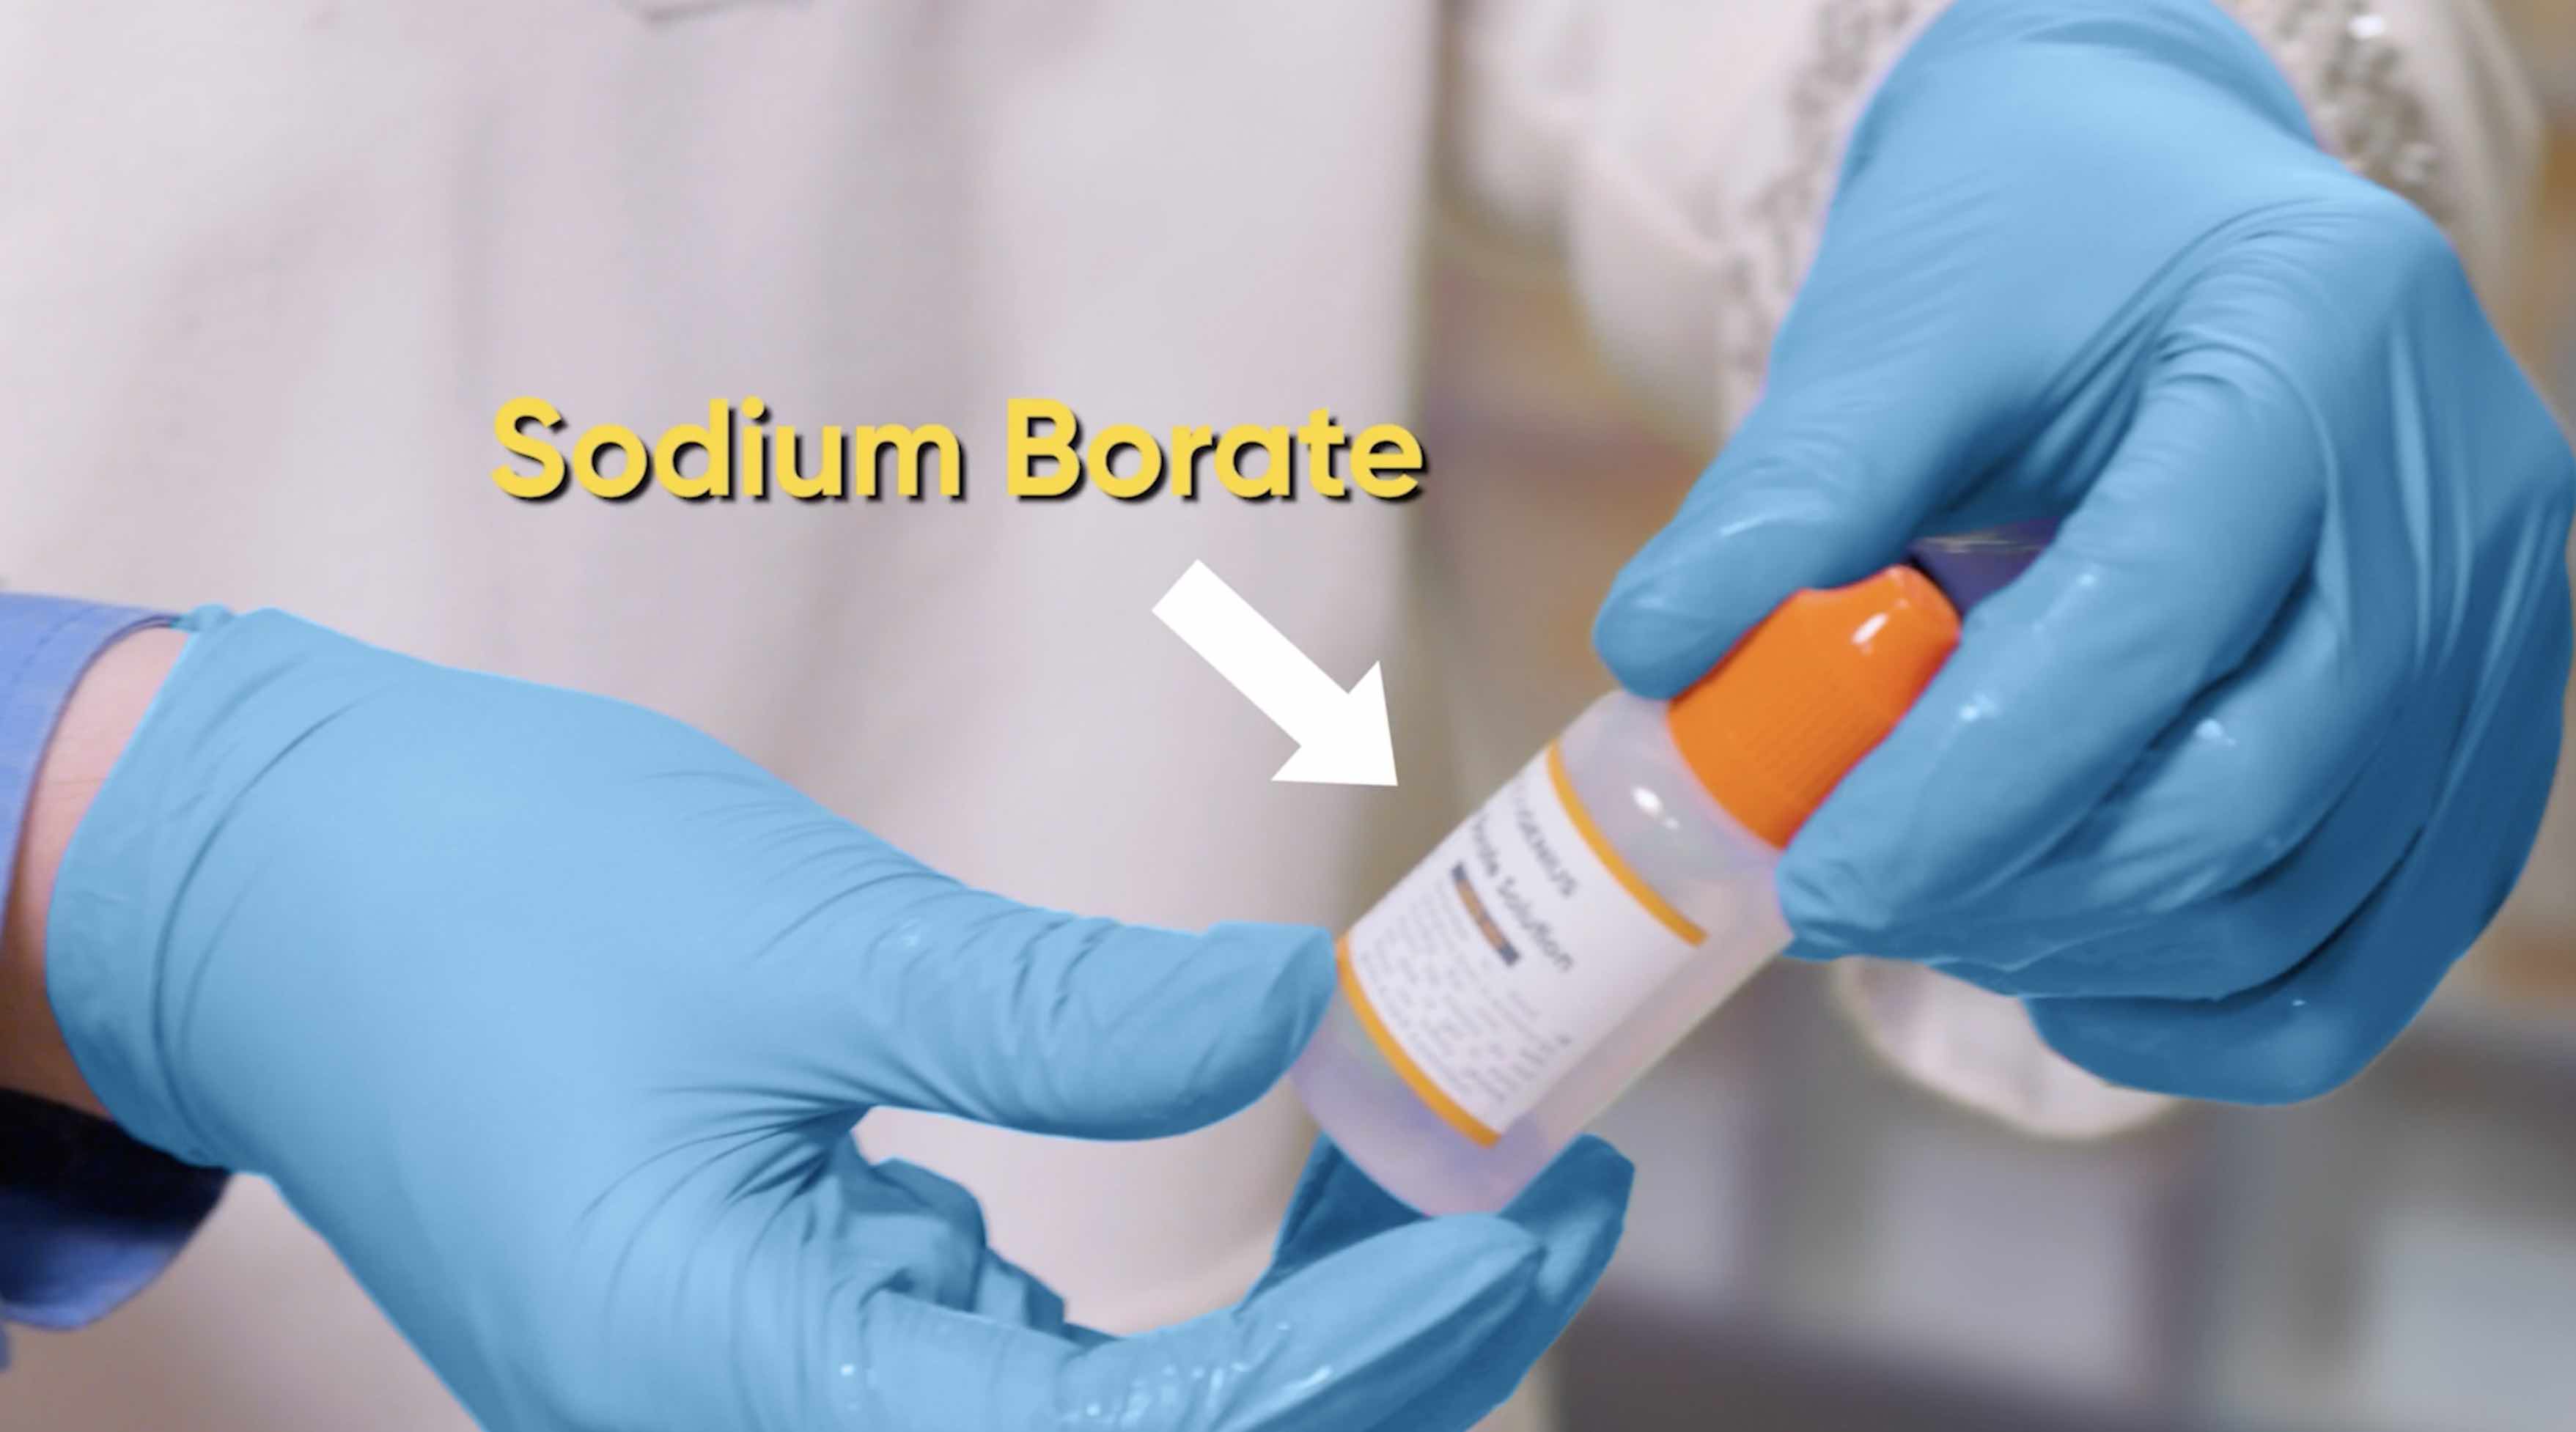
Add the bottle of Sodium Borate. Squeeze in a little at a time and mix. If you add all of the Sodium Borate at once your slime will get clumpy.
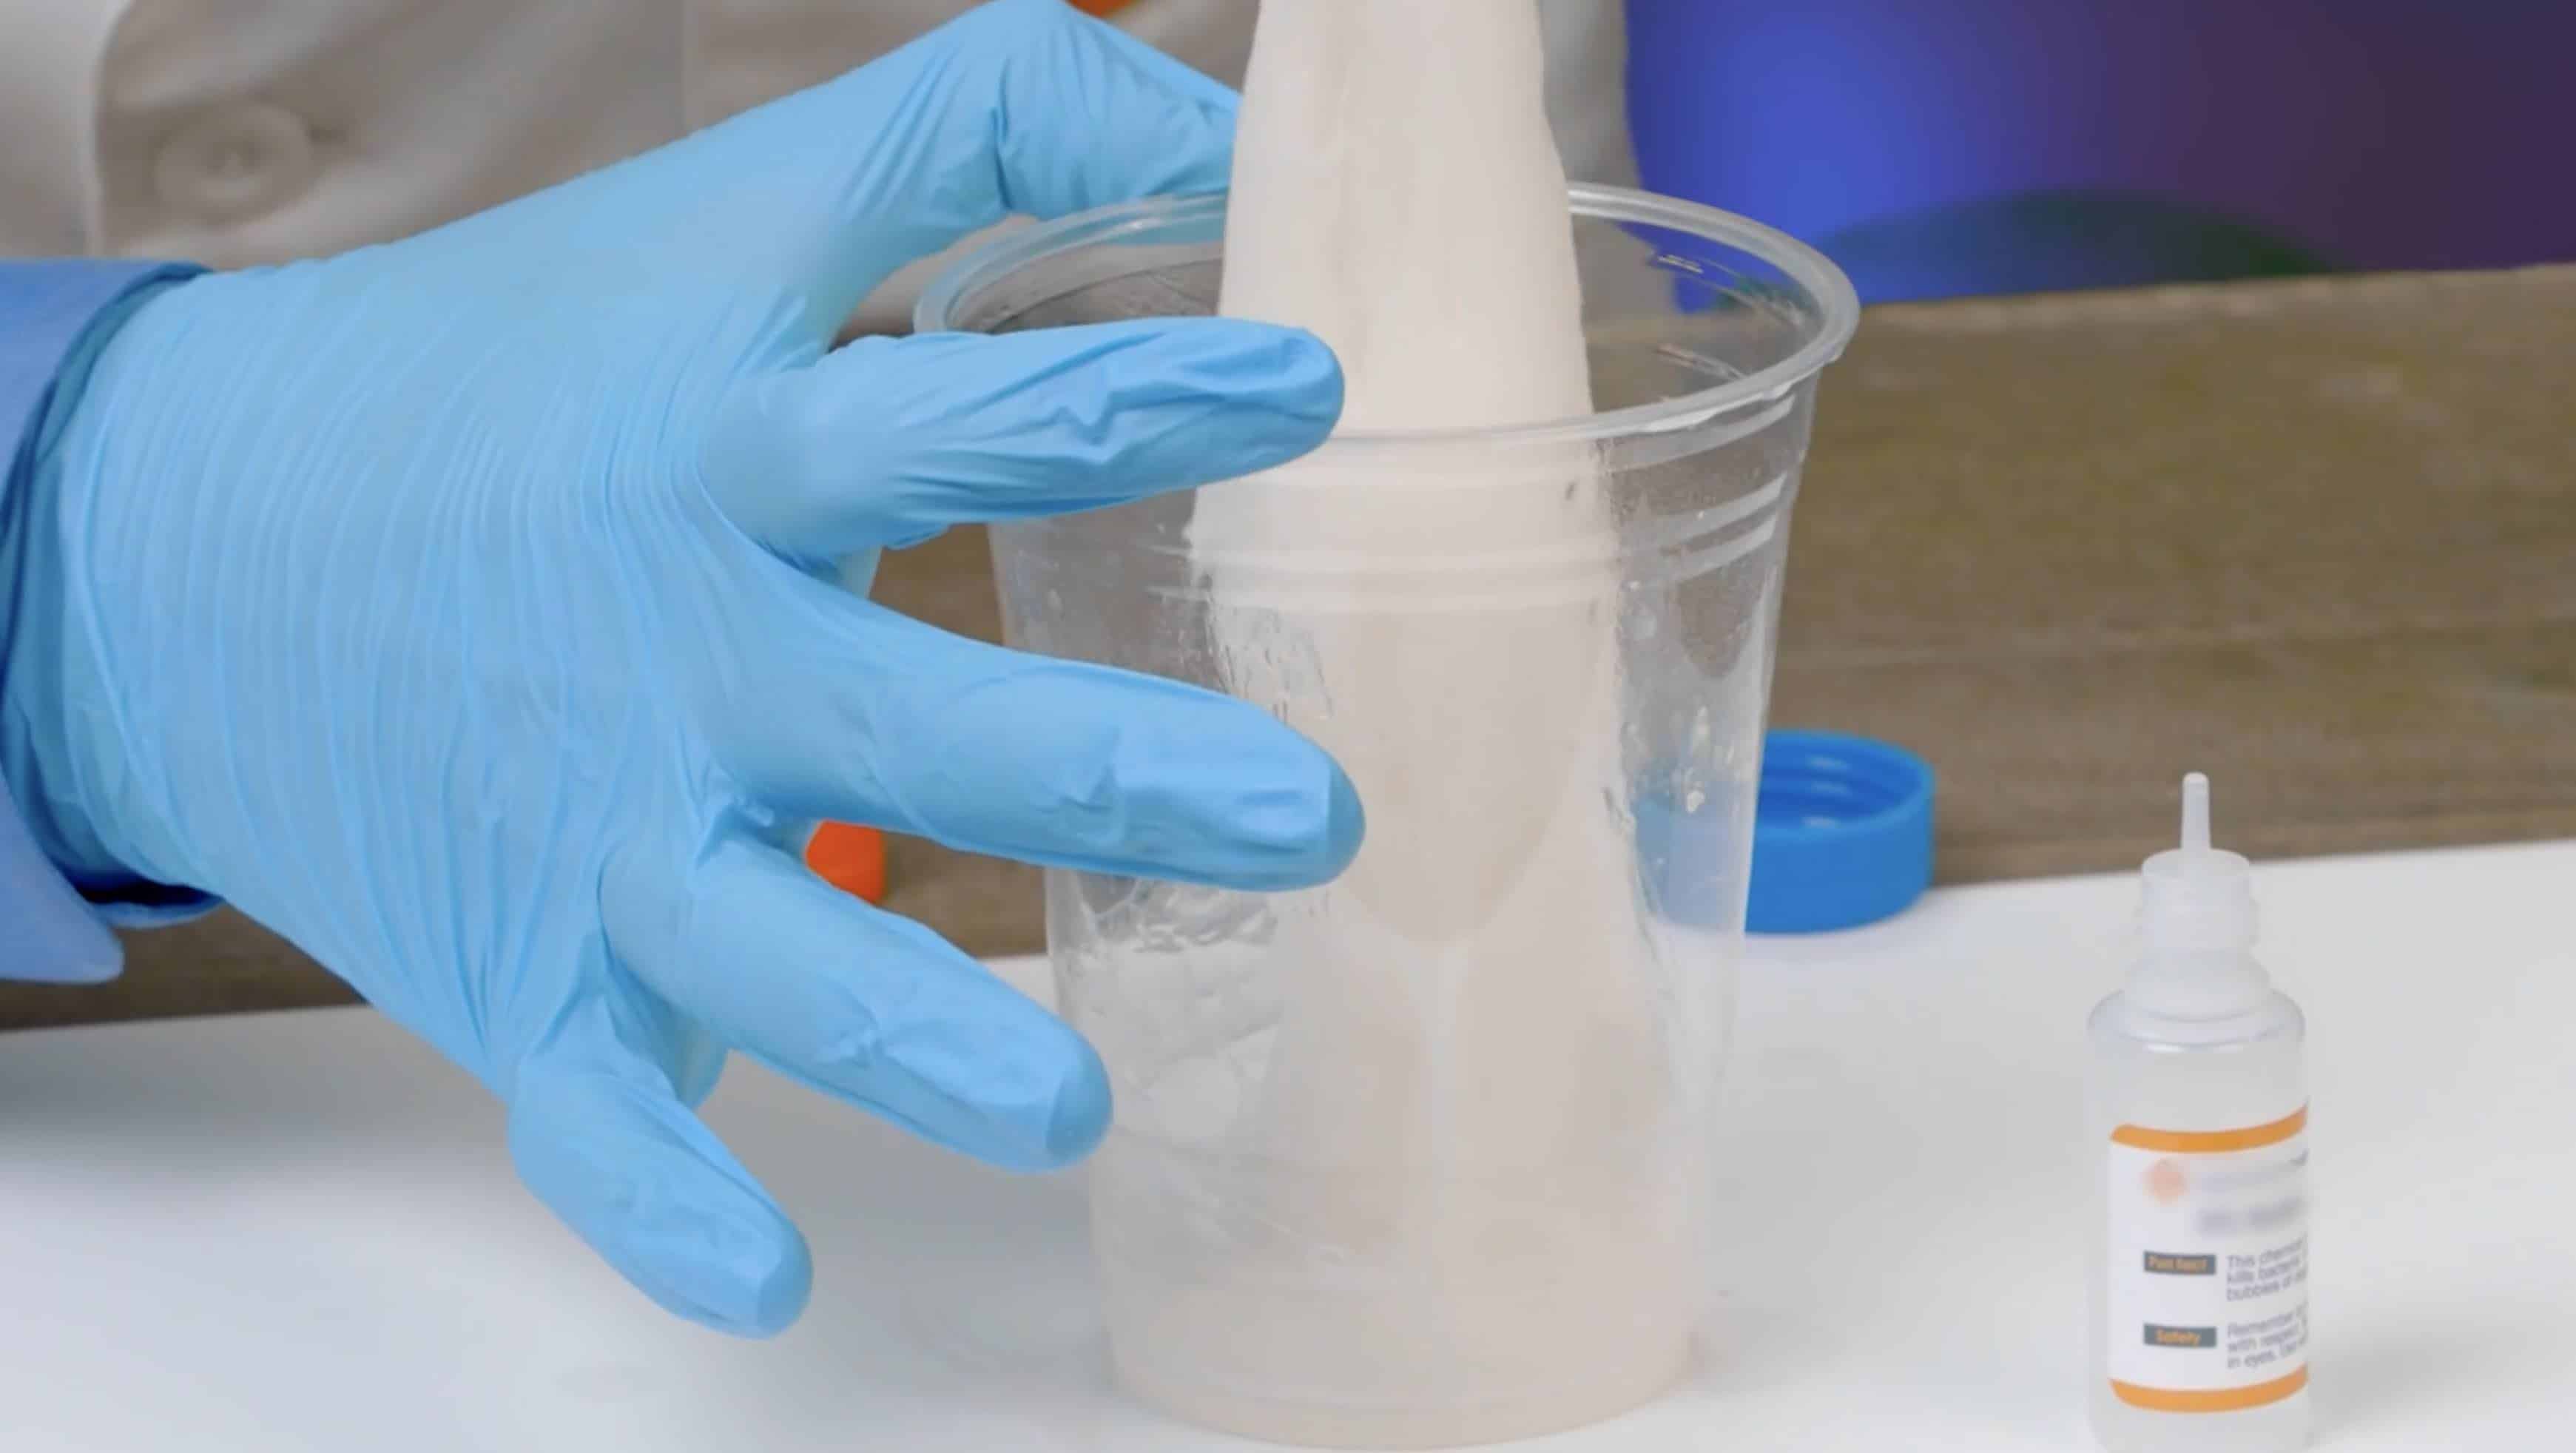
Continue to squeeze in a little more of the Sodium Borate at a time until you’ve used the entire bottle. Let it sit for 10 seconds to finish soaking all together.

Reach in and grab out the slime. Start to knead it in your hands to finish mixing it all together.
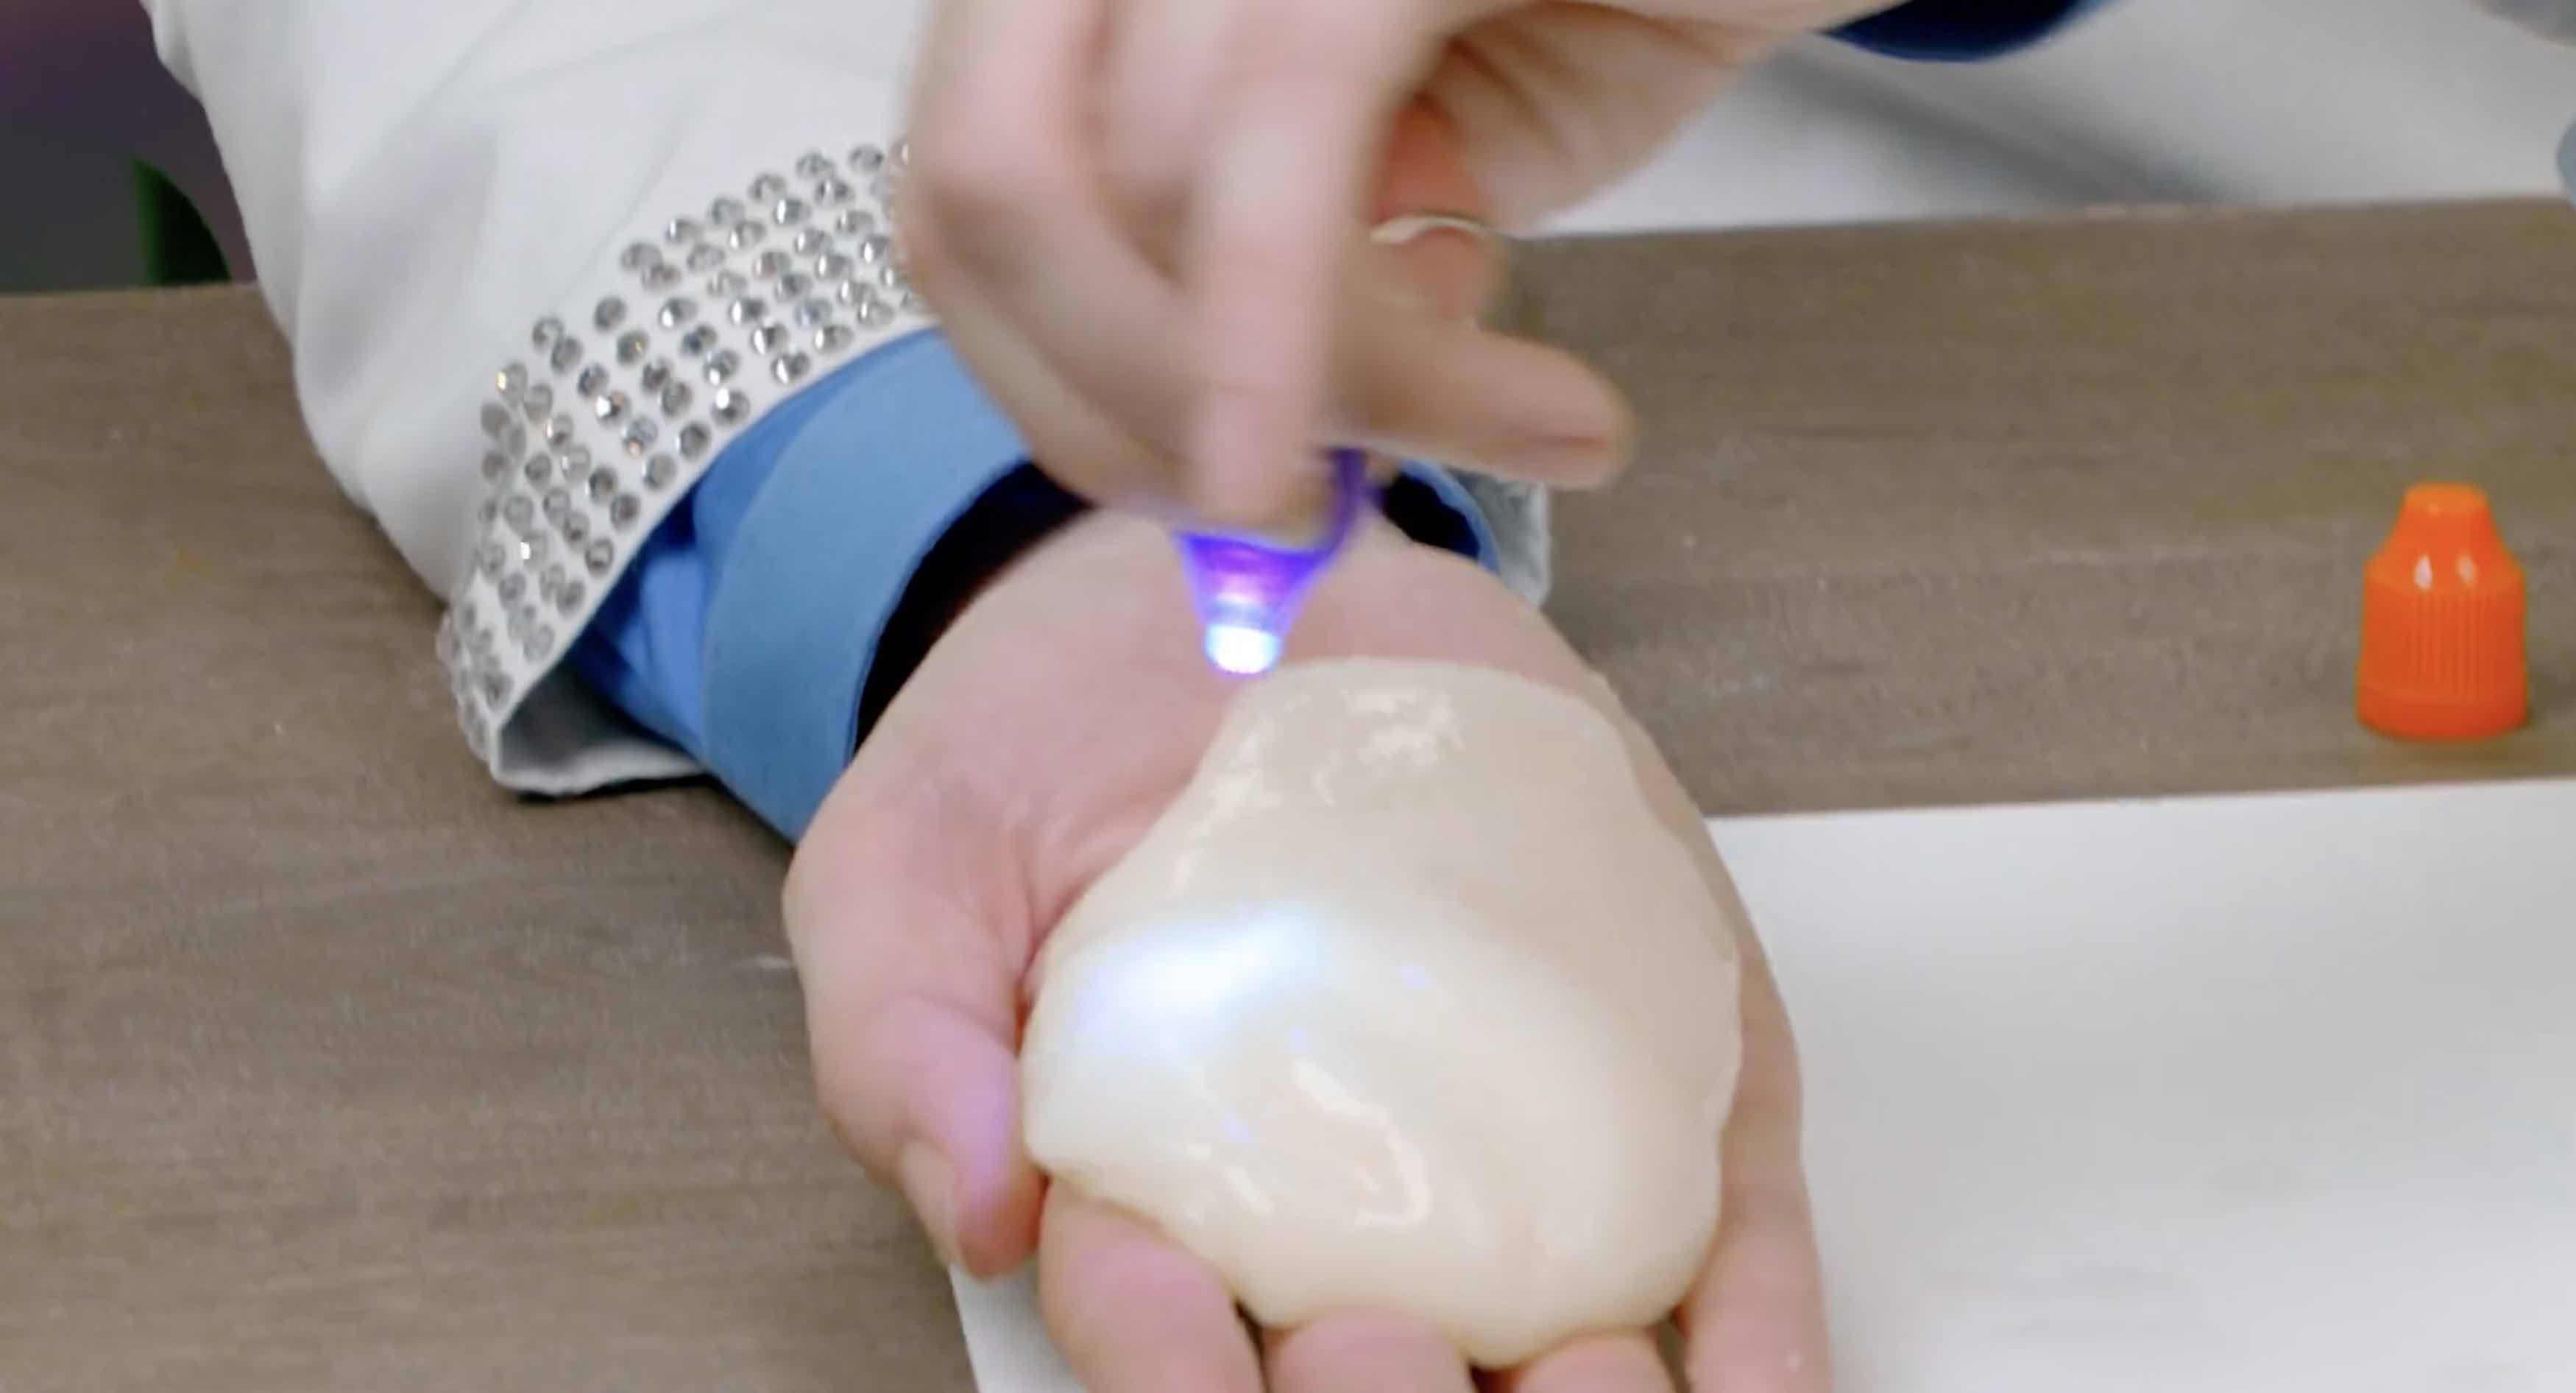
Grab your UV light, simply press the button to turn it on, and shine it all around your slime for at least 10 seconds.

Once you’ve charged up the slime with the UV light, go ahead and turn off all the lights and watch it glow!

Put the slime down onto your white mat and flatten it out with your hands. Grab your UV light, and you can draw on your slime!
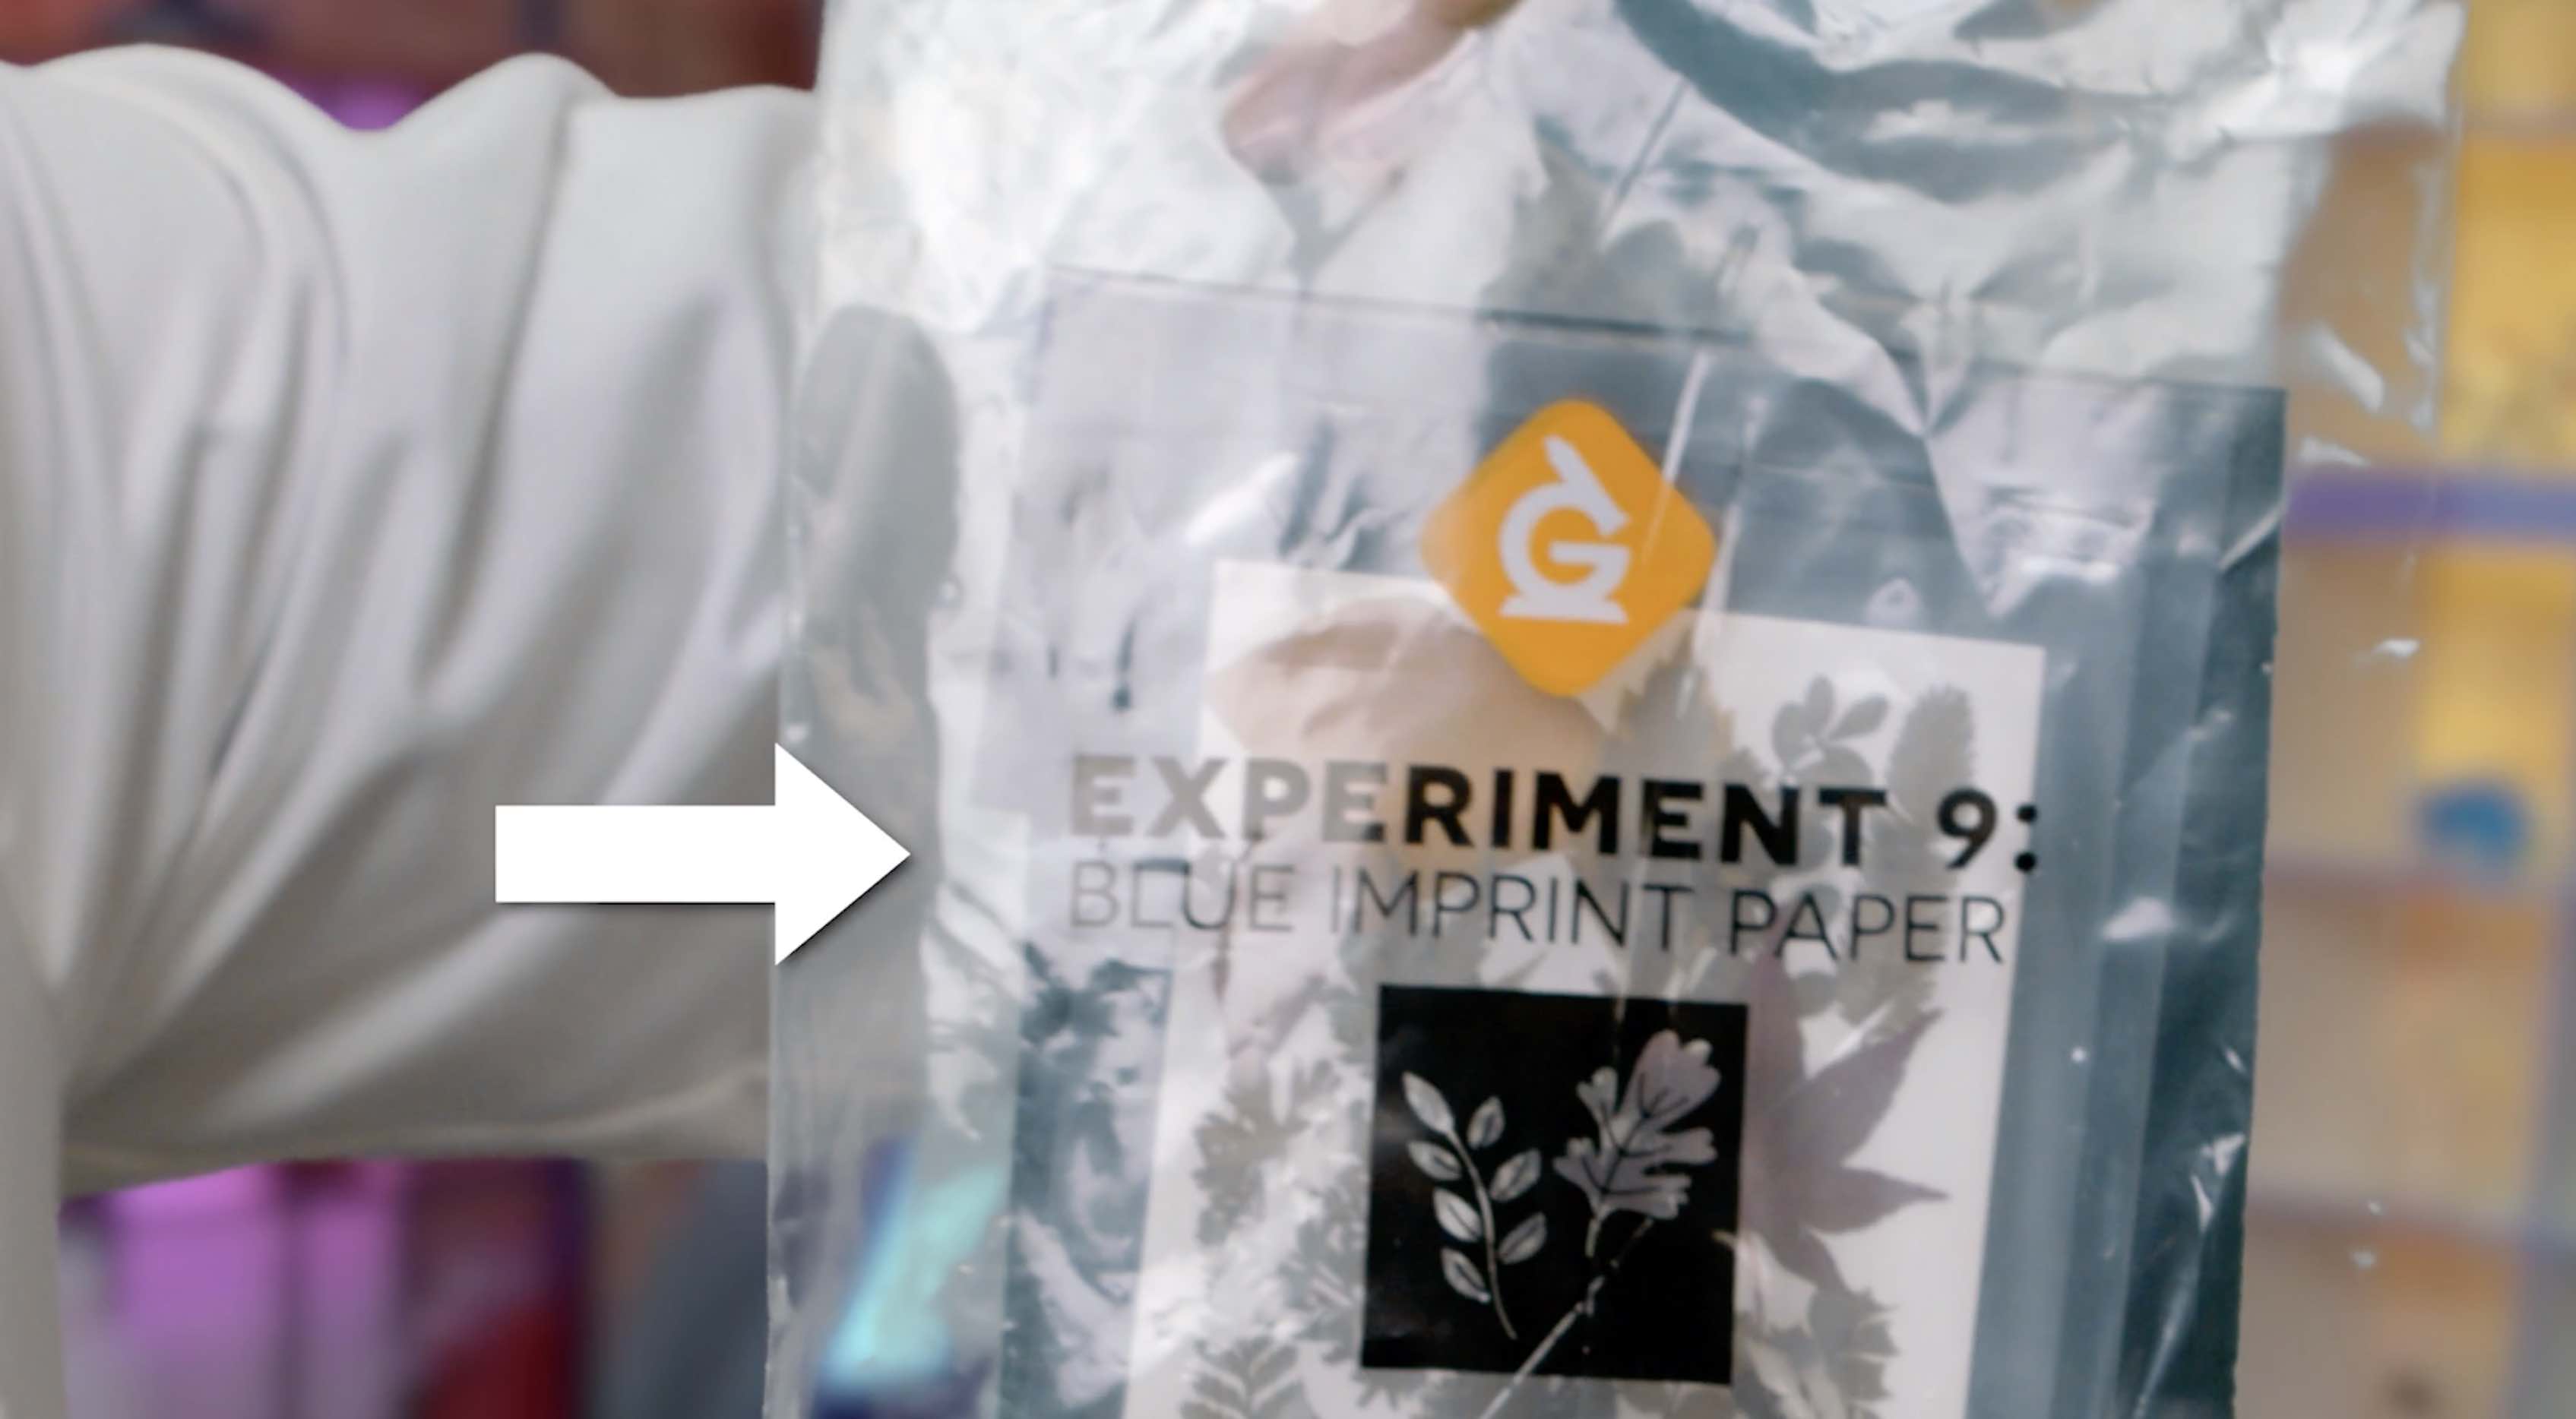
Turn the lights back on, and put the slime back in the cup. Reach into your kit and pull out the bag that says Experiment 9. Grab the light and the battery from this bag.
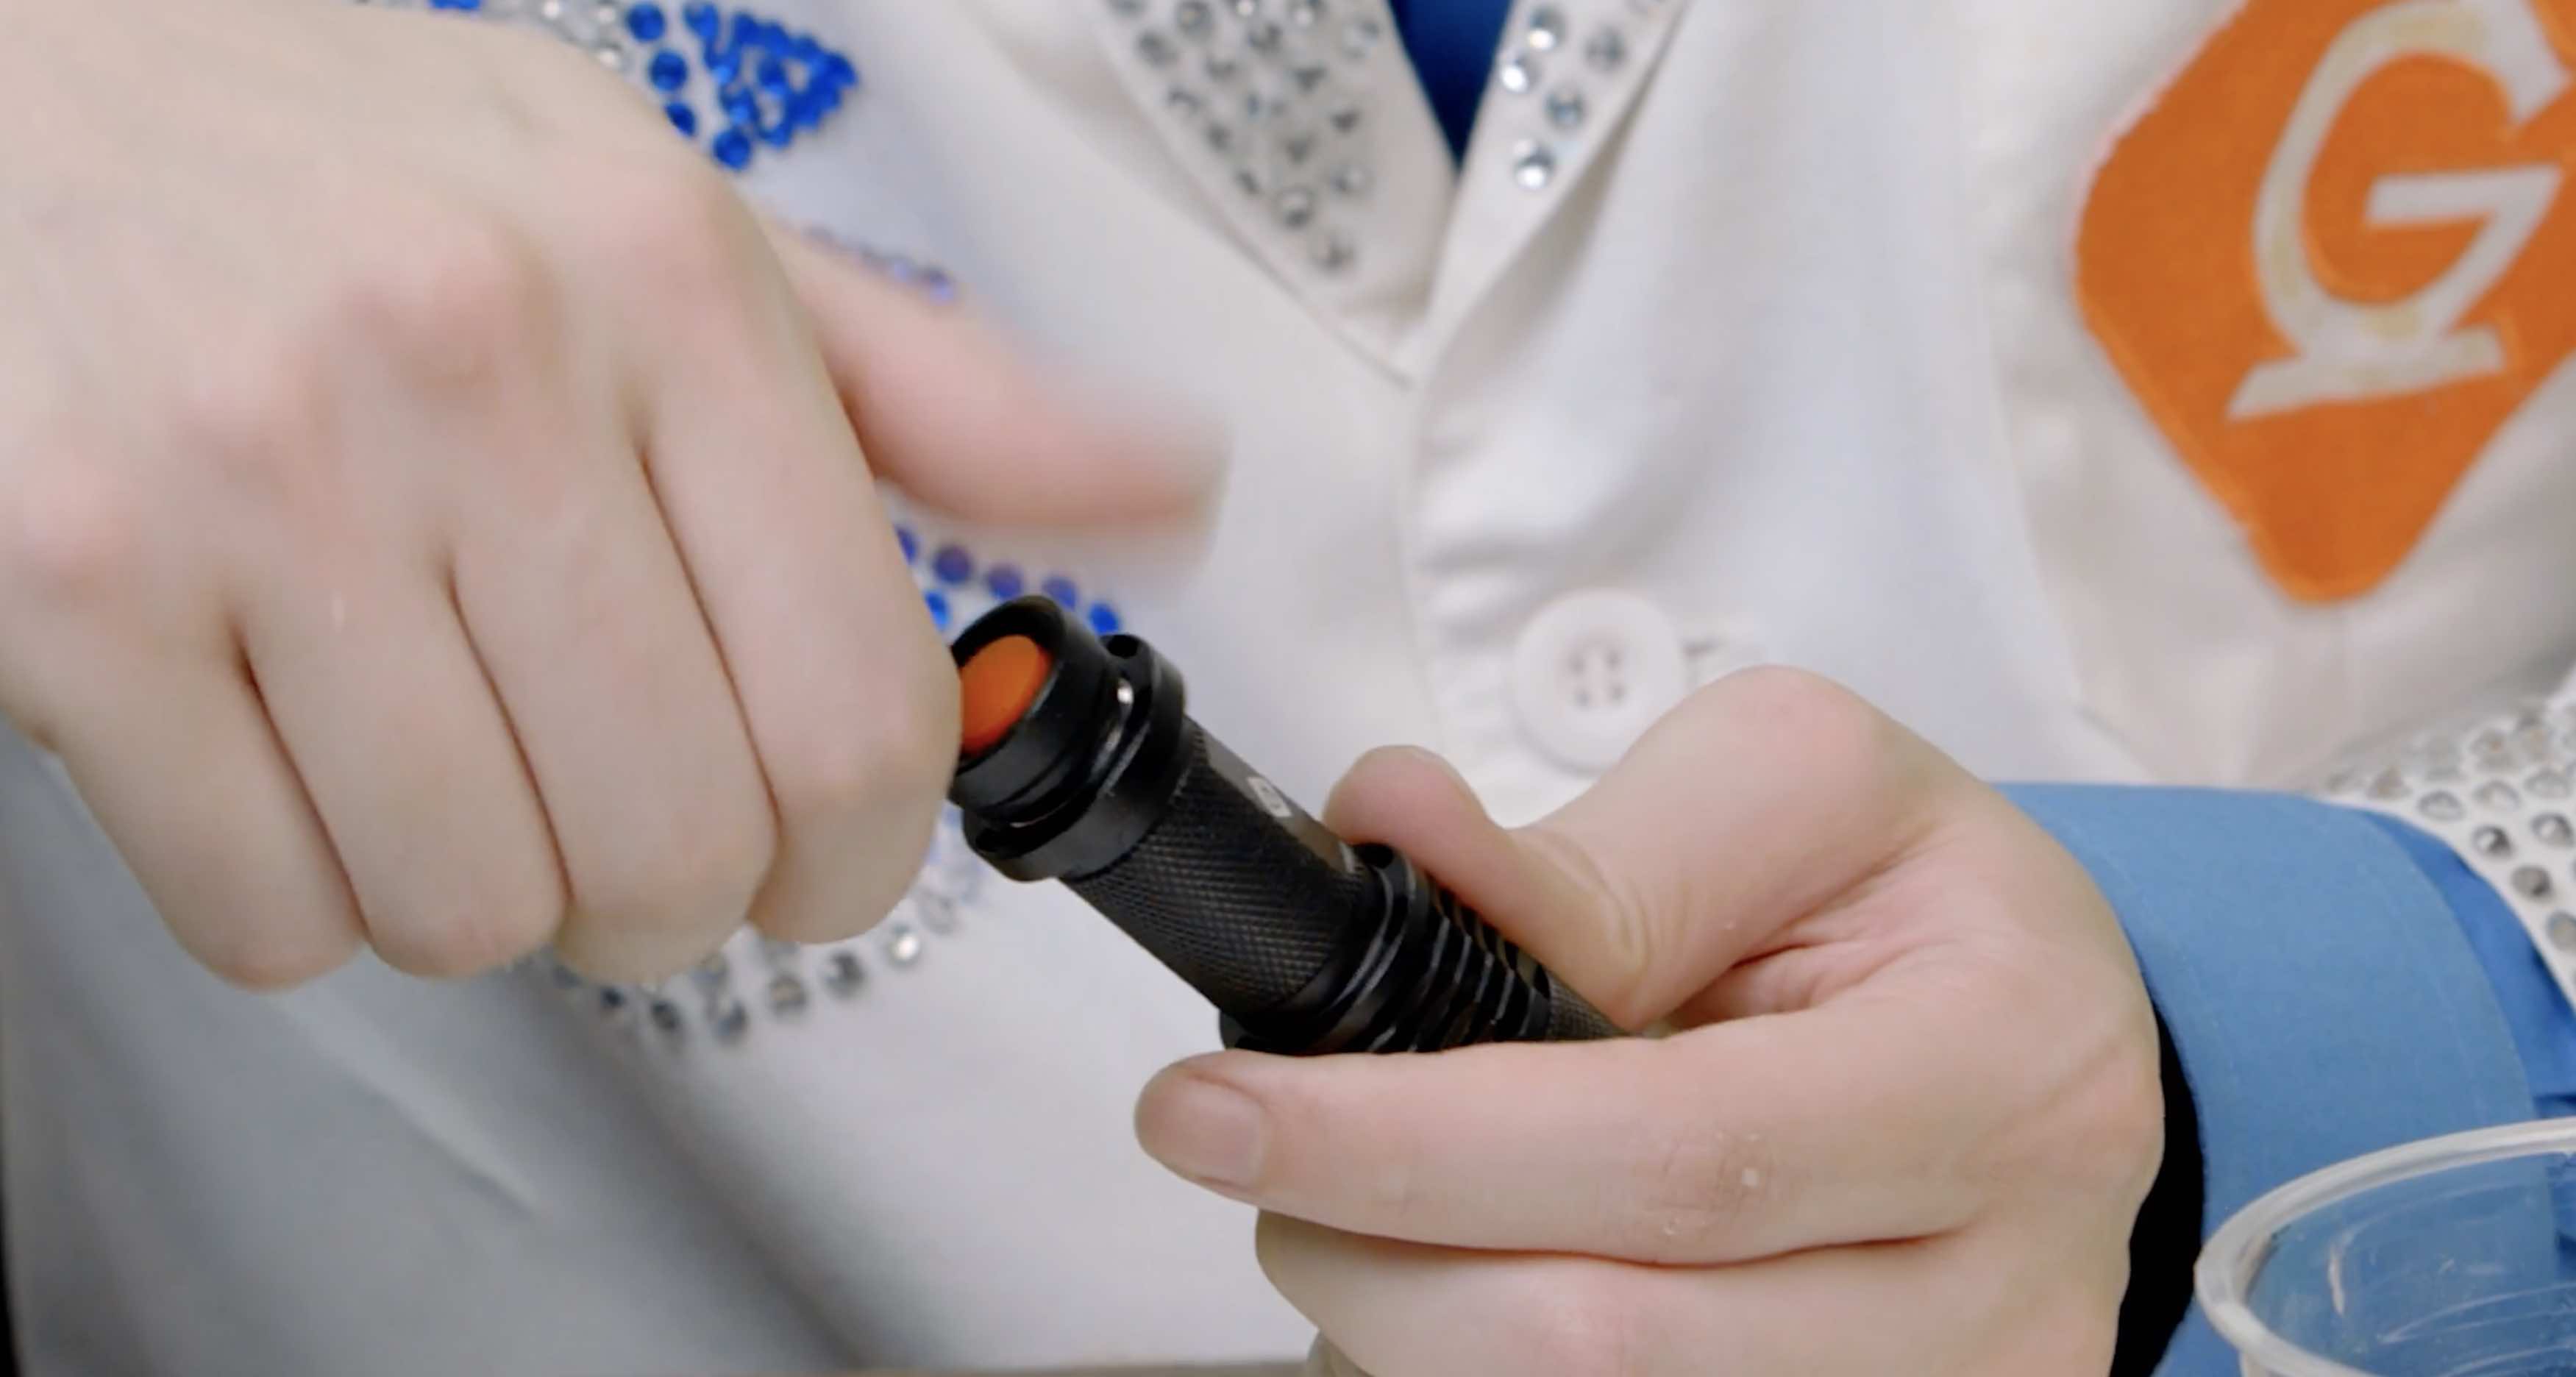
Unscrew the cap on the bottom of the light, place the battery in with the positive end first and screw the cap back on. Test the light by clicking the button on the bottom and you should see a blue light.
How It Works
Think of PolyVinyl Alcohol as molecules that are really long and stringy like spaghetti and they can move around when stirred. But once you add a chemical called Sodium Borate it links all of the Polyvinyl Alcohol together and it makes it stiffer. We call that new material, slime. You may have heard that slime can be made from many household ingredients like contact lens cleaner, laundry starch, or just plain borax. That’s because all of these things have Borate in them and that’s why they work.
Skip, I will use a 3 day free trial
Enjoy your free 30 days trial
We use cookies to make your experience with this site better. By using this site you agree to our use of cookies. Click "Decline" to delete and block any non-essential cookies for this site on this specific property, device, and browser. Please read our privacy policy for more information on the cookies we use.Learn More
We use cookies to improve your experience. By using this site, you agree to our use of cookies. Click "Decline" to block non-essential cookies. See our privacy policy for details.Learn More


